the Winter & (Spring) Sowing Method using recyclable containers
Alternative to indoor seed starting
Does “seed starting” bring thoughts of expensive equipment, mud in your dining room, lanky seedlings due to limited light or a hesitancy about “hardening off” that requires repeatedly moving trays between indoors and outside? Well there are options! The act of gardening is always an experiment, and if you embrace that as a guiding principle, then you will find there are ways to start seedlings that allows you to “ use what you have”. This post shares a method that skips the need for traditional indoor seed starting equipment such as special trays, lights, heat mat and fans and allows you to get your seed starting adventures OUTSIDE immediately.
Try Winter Sowing!
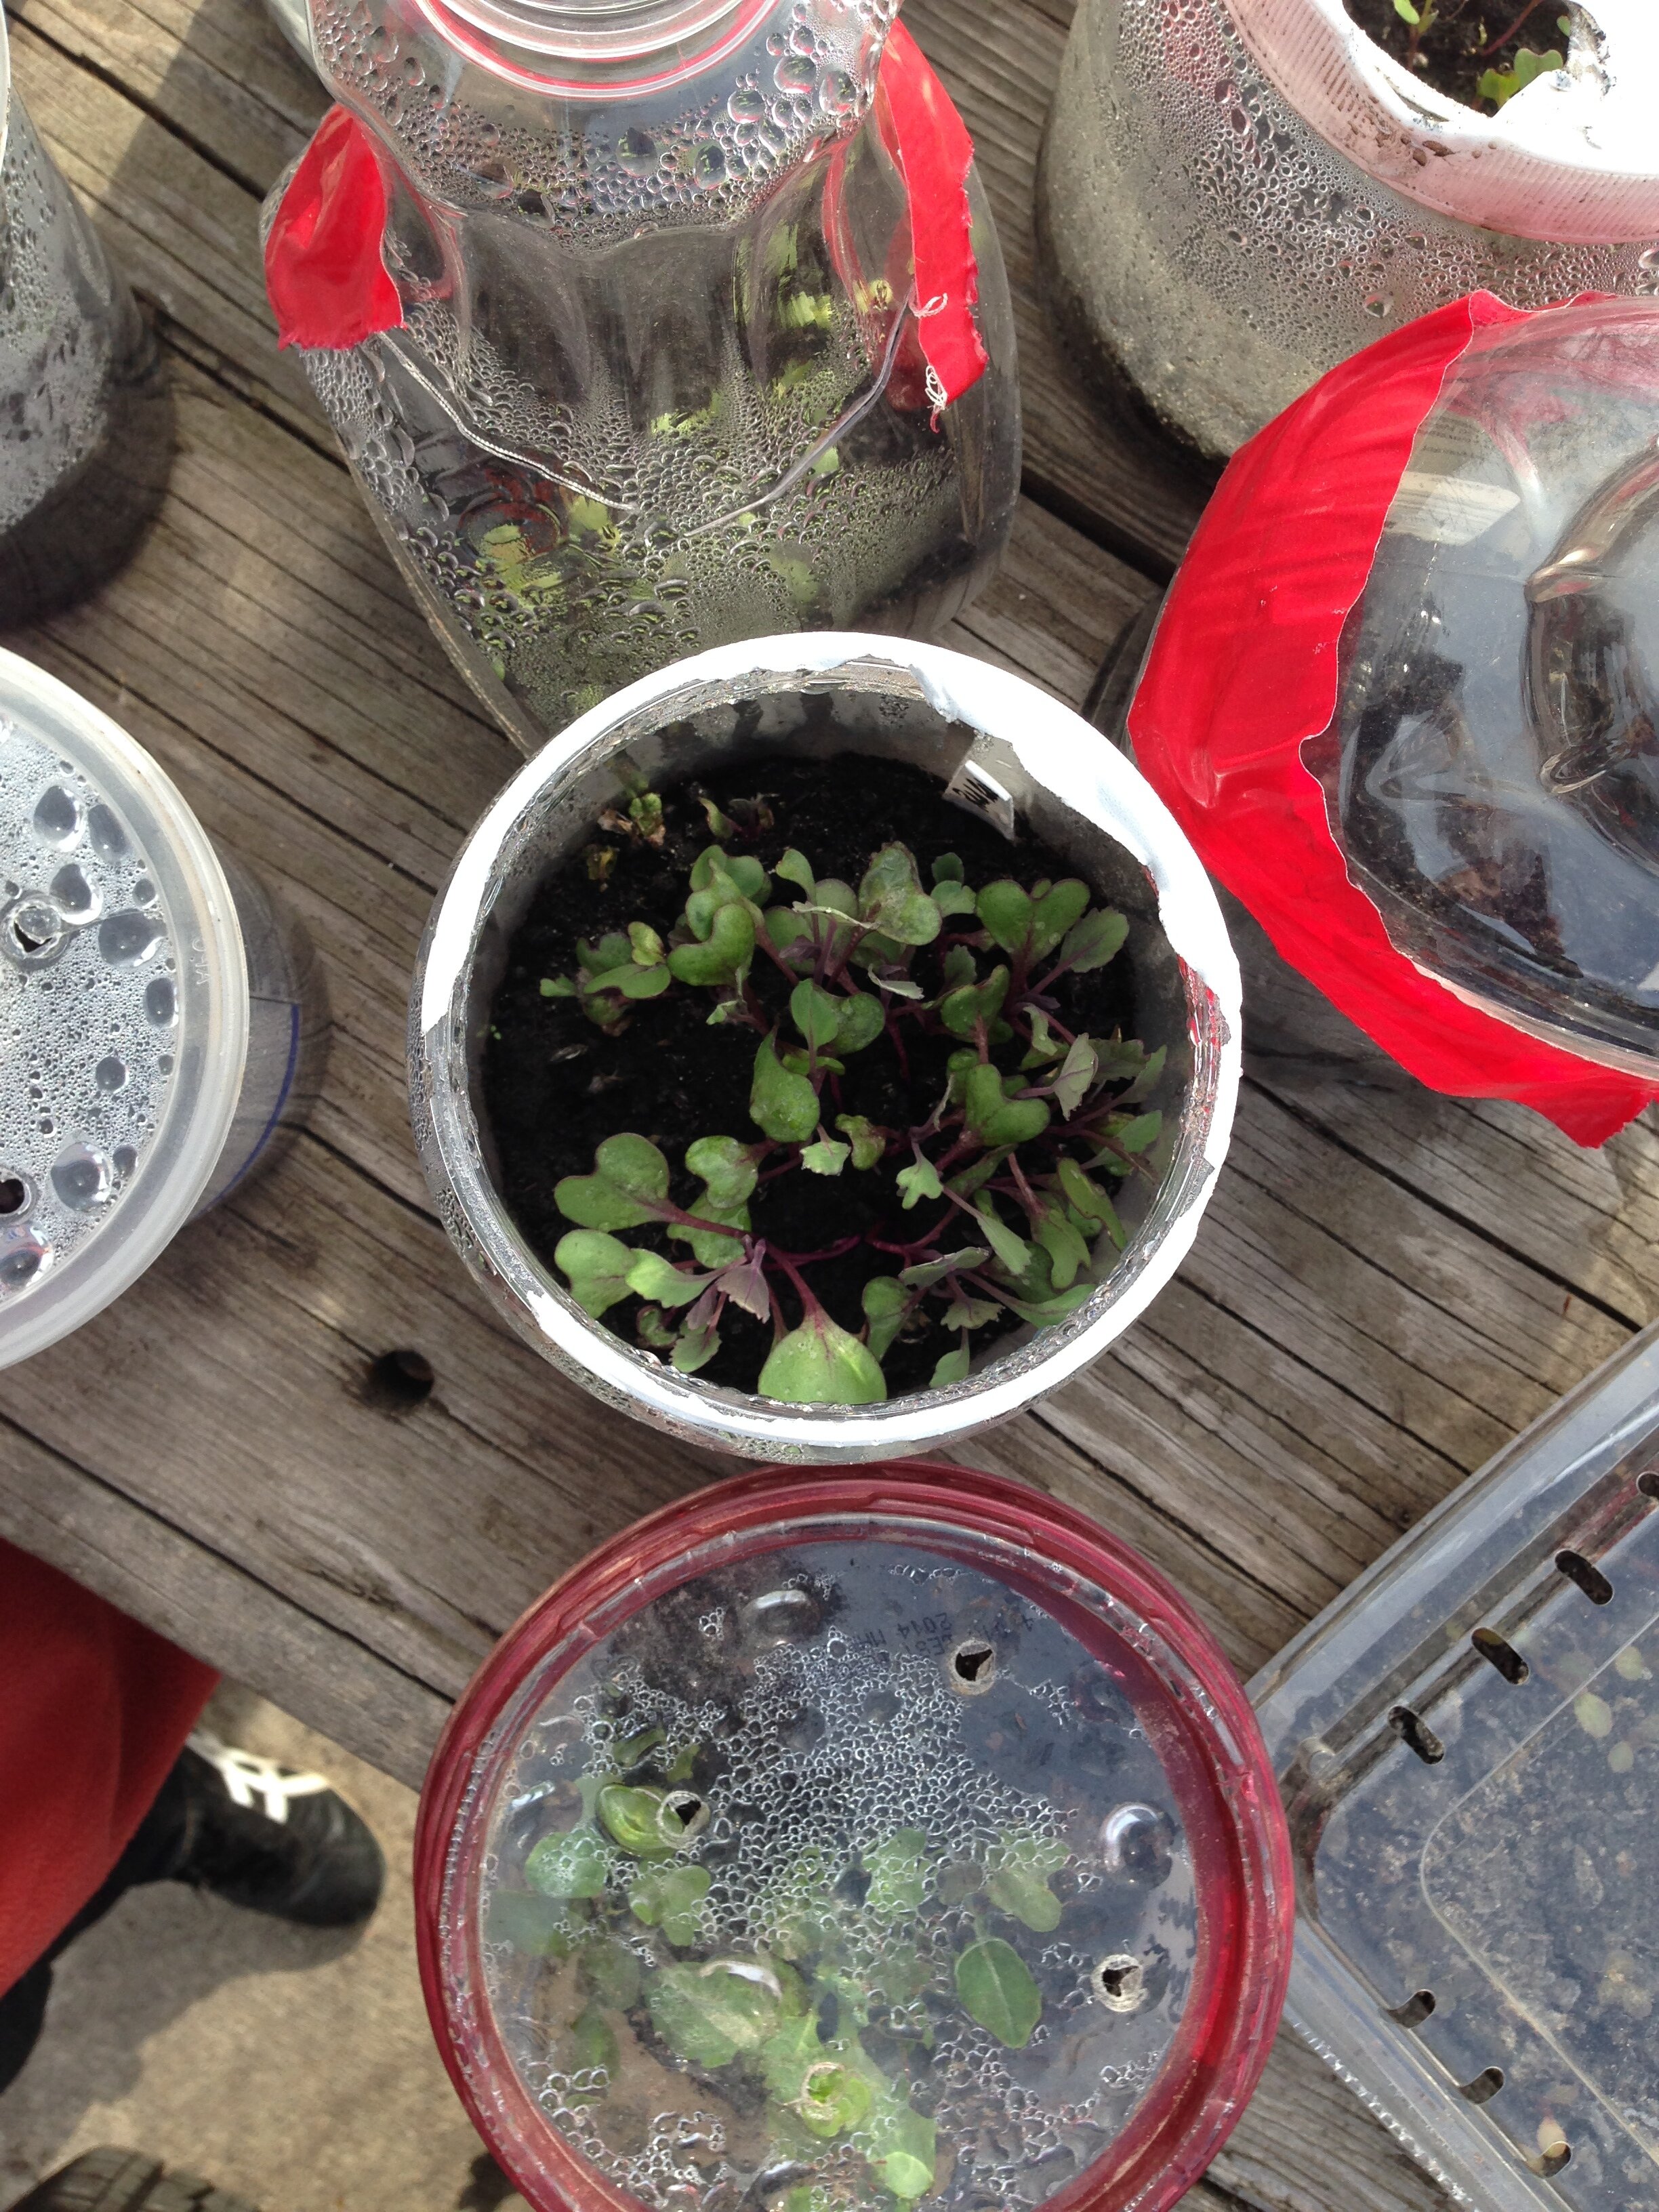
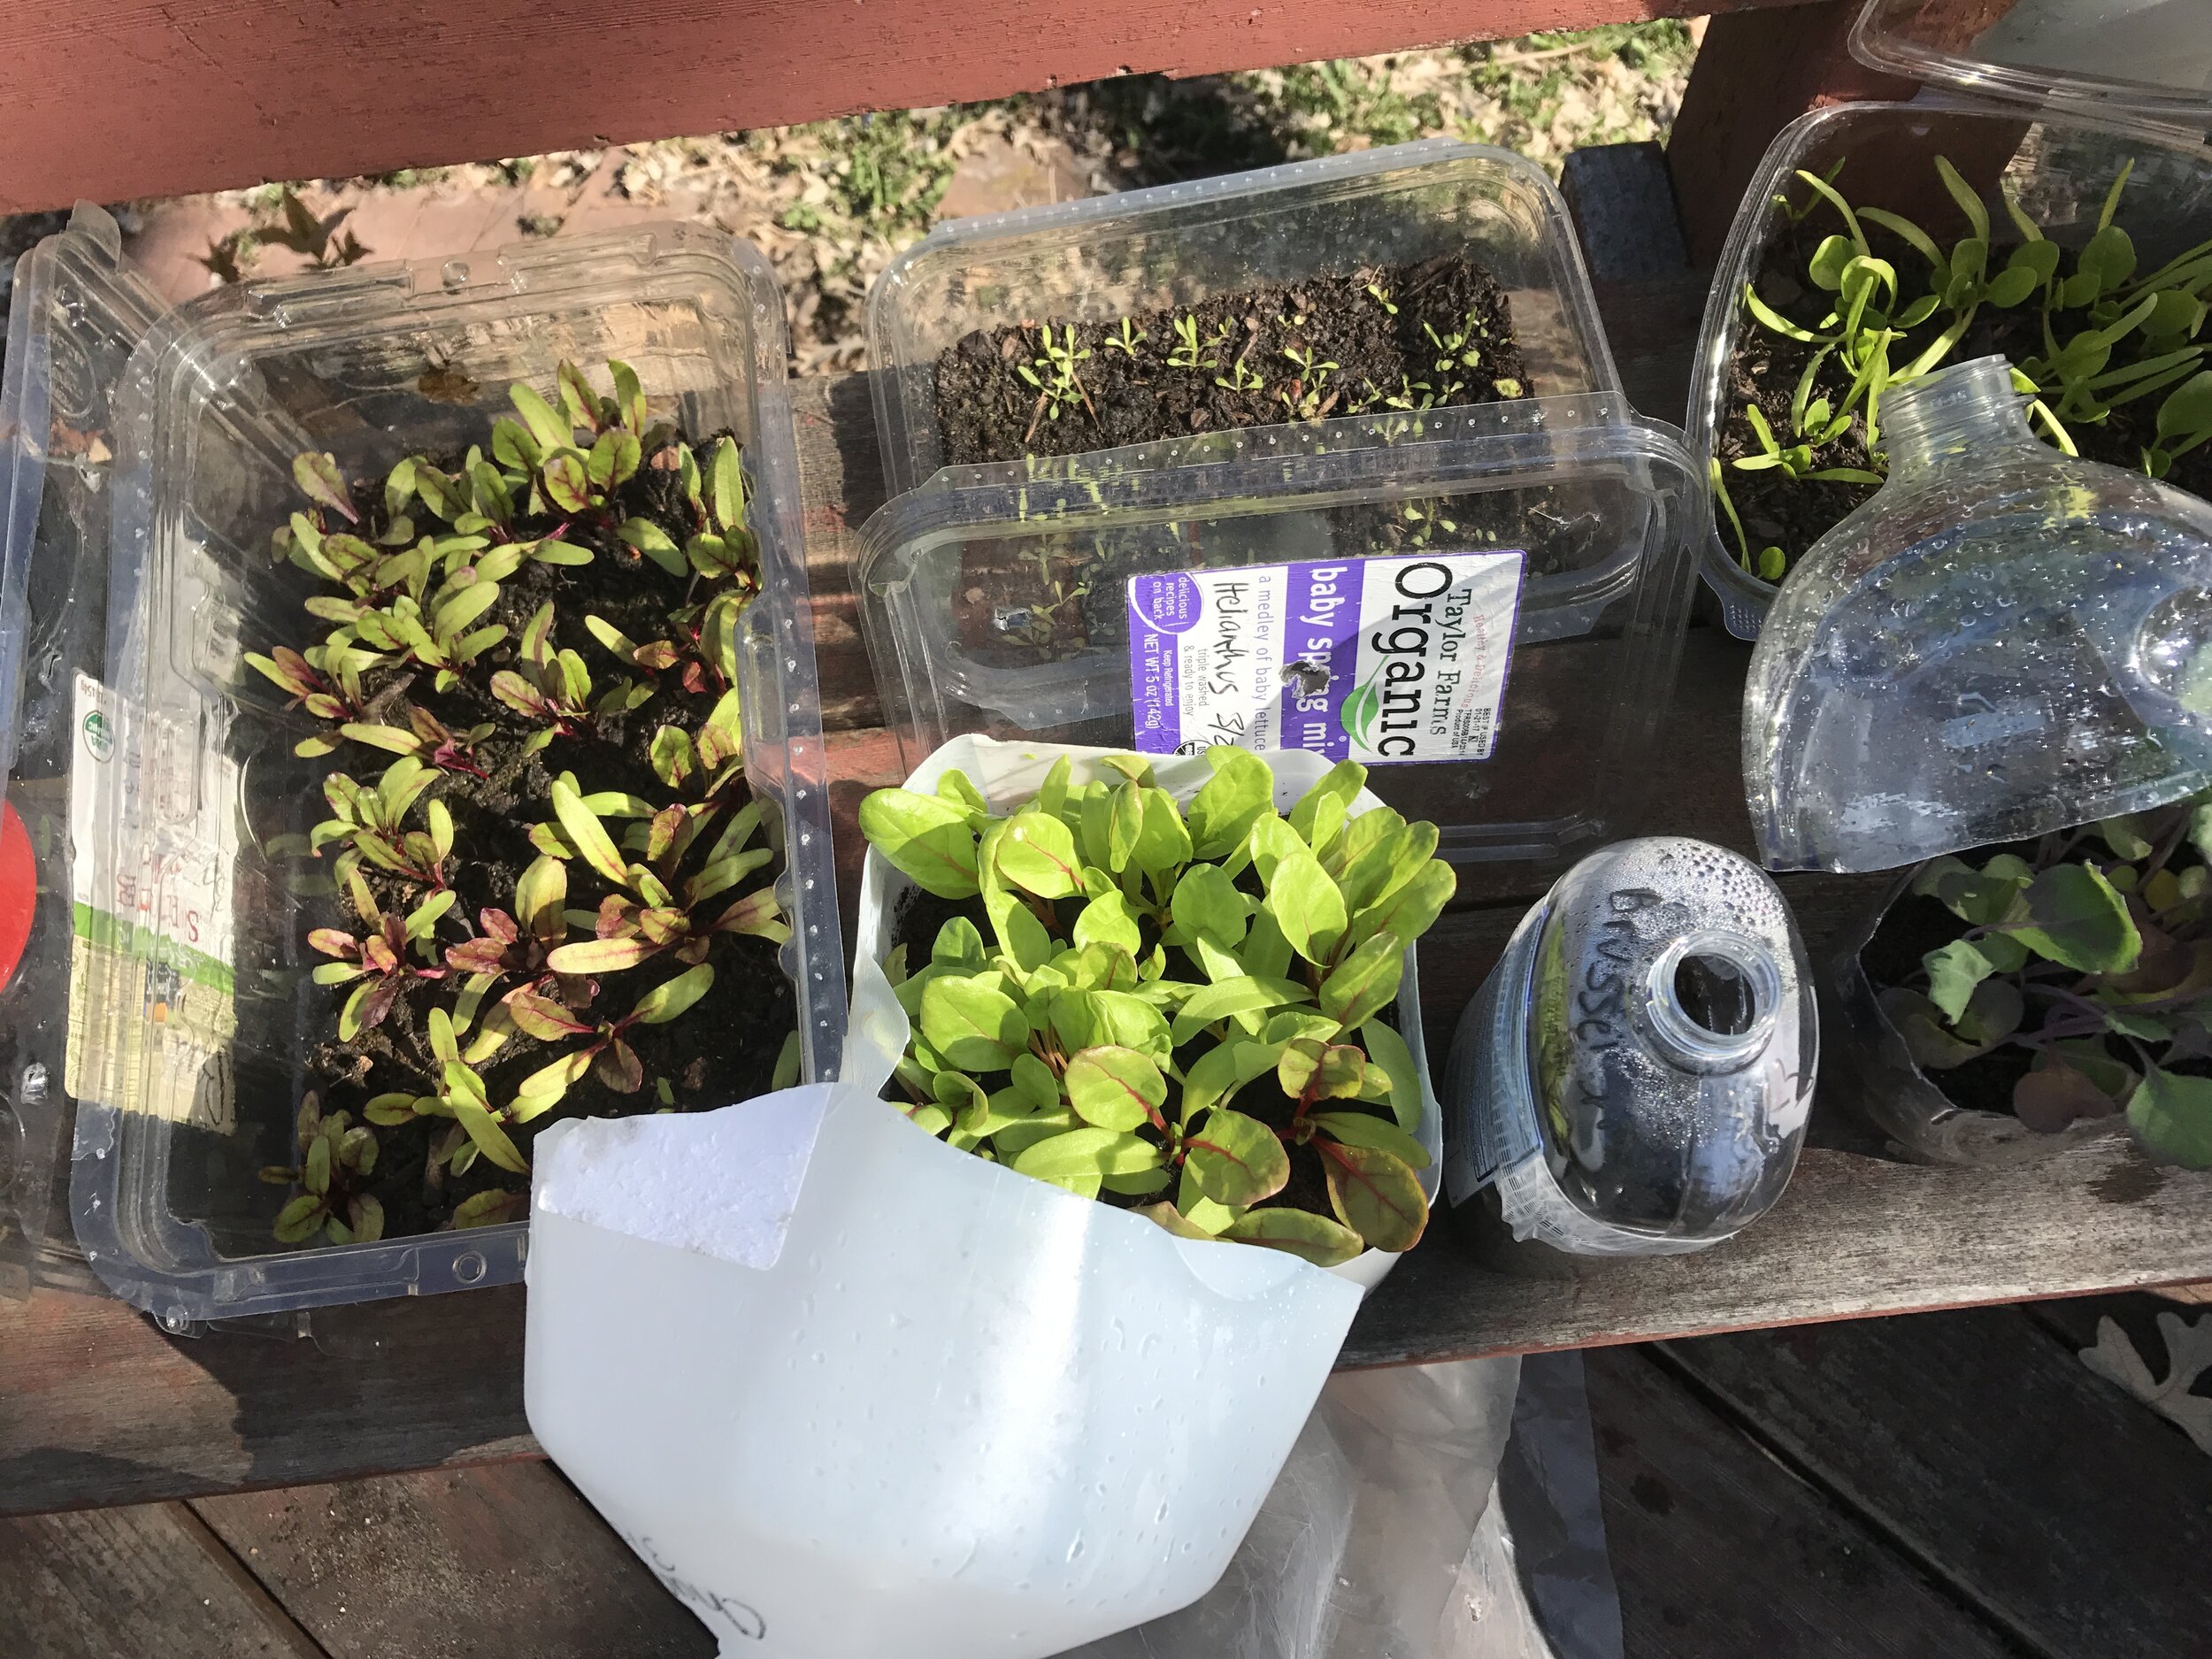
Starting these seeds can be super easy using the Winter Sowing method that makes use of recyclable containers you may have on hand or can find easily from someone you know or even a local business. A handy pdf of instructions are at this link. This method creates mini-greenhouses that protect seeds and seedlings from cold, animals and insects. The conditions inside are warmer and more protected then our garden beds. Seeds germinate earlier and because the get their light from the sun, they grow strong and do not need to be “hardened off”.
Timing is everything
Because Minnesota has a cold climate, when to start plants is important- whether you opt for indoor starting or outdoor Winter Sowing methods. Weather is seasonally variable, so consider these sowing windows as guidelines. If you are eager to experiment, you can try sowing outside suggested windows, or if you prefer to hedge your success, then stick to a schedule that reflects this:
January & February
Native plants with 120 or 90 day cold periods
Perennial plants
Onions
March
Native plants with 60 to 30 day cold periods
most Perennials
hardy herbs (especially chamomile, chives, sage, lavender, mint, catnip, hyssop, lemon balm, lovage, oregano, parsley, sorrel, or thyme)
cold crops (especially long season ones like cabbage, brussels sprouts, collards, broccoli and cauliflower)
April
tender herbs (basils, shiso, dill, chervil, epazote)
annual flowers (especially small seeded ones),
warm season crops (cucurbits, beans, tomato, malabar spinach)
When you get to this point in the calendar, then direct seeding crops becomes possible- first the cold crops and then warm season ones. There are some crops that maybe are not the best for winter sowing in this Zone4b climate. These tend to be warm season annual crops that have long germination or growing periods. Peppers, Eggplants and okra fit that category and staring these indoors by the Wicking Container method is a super alternative.
What do you need to Winter Sow?
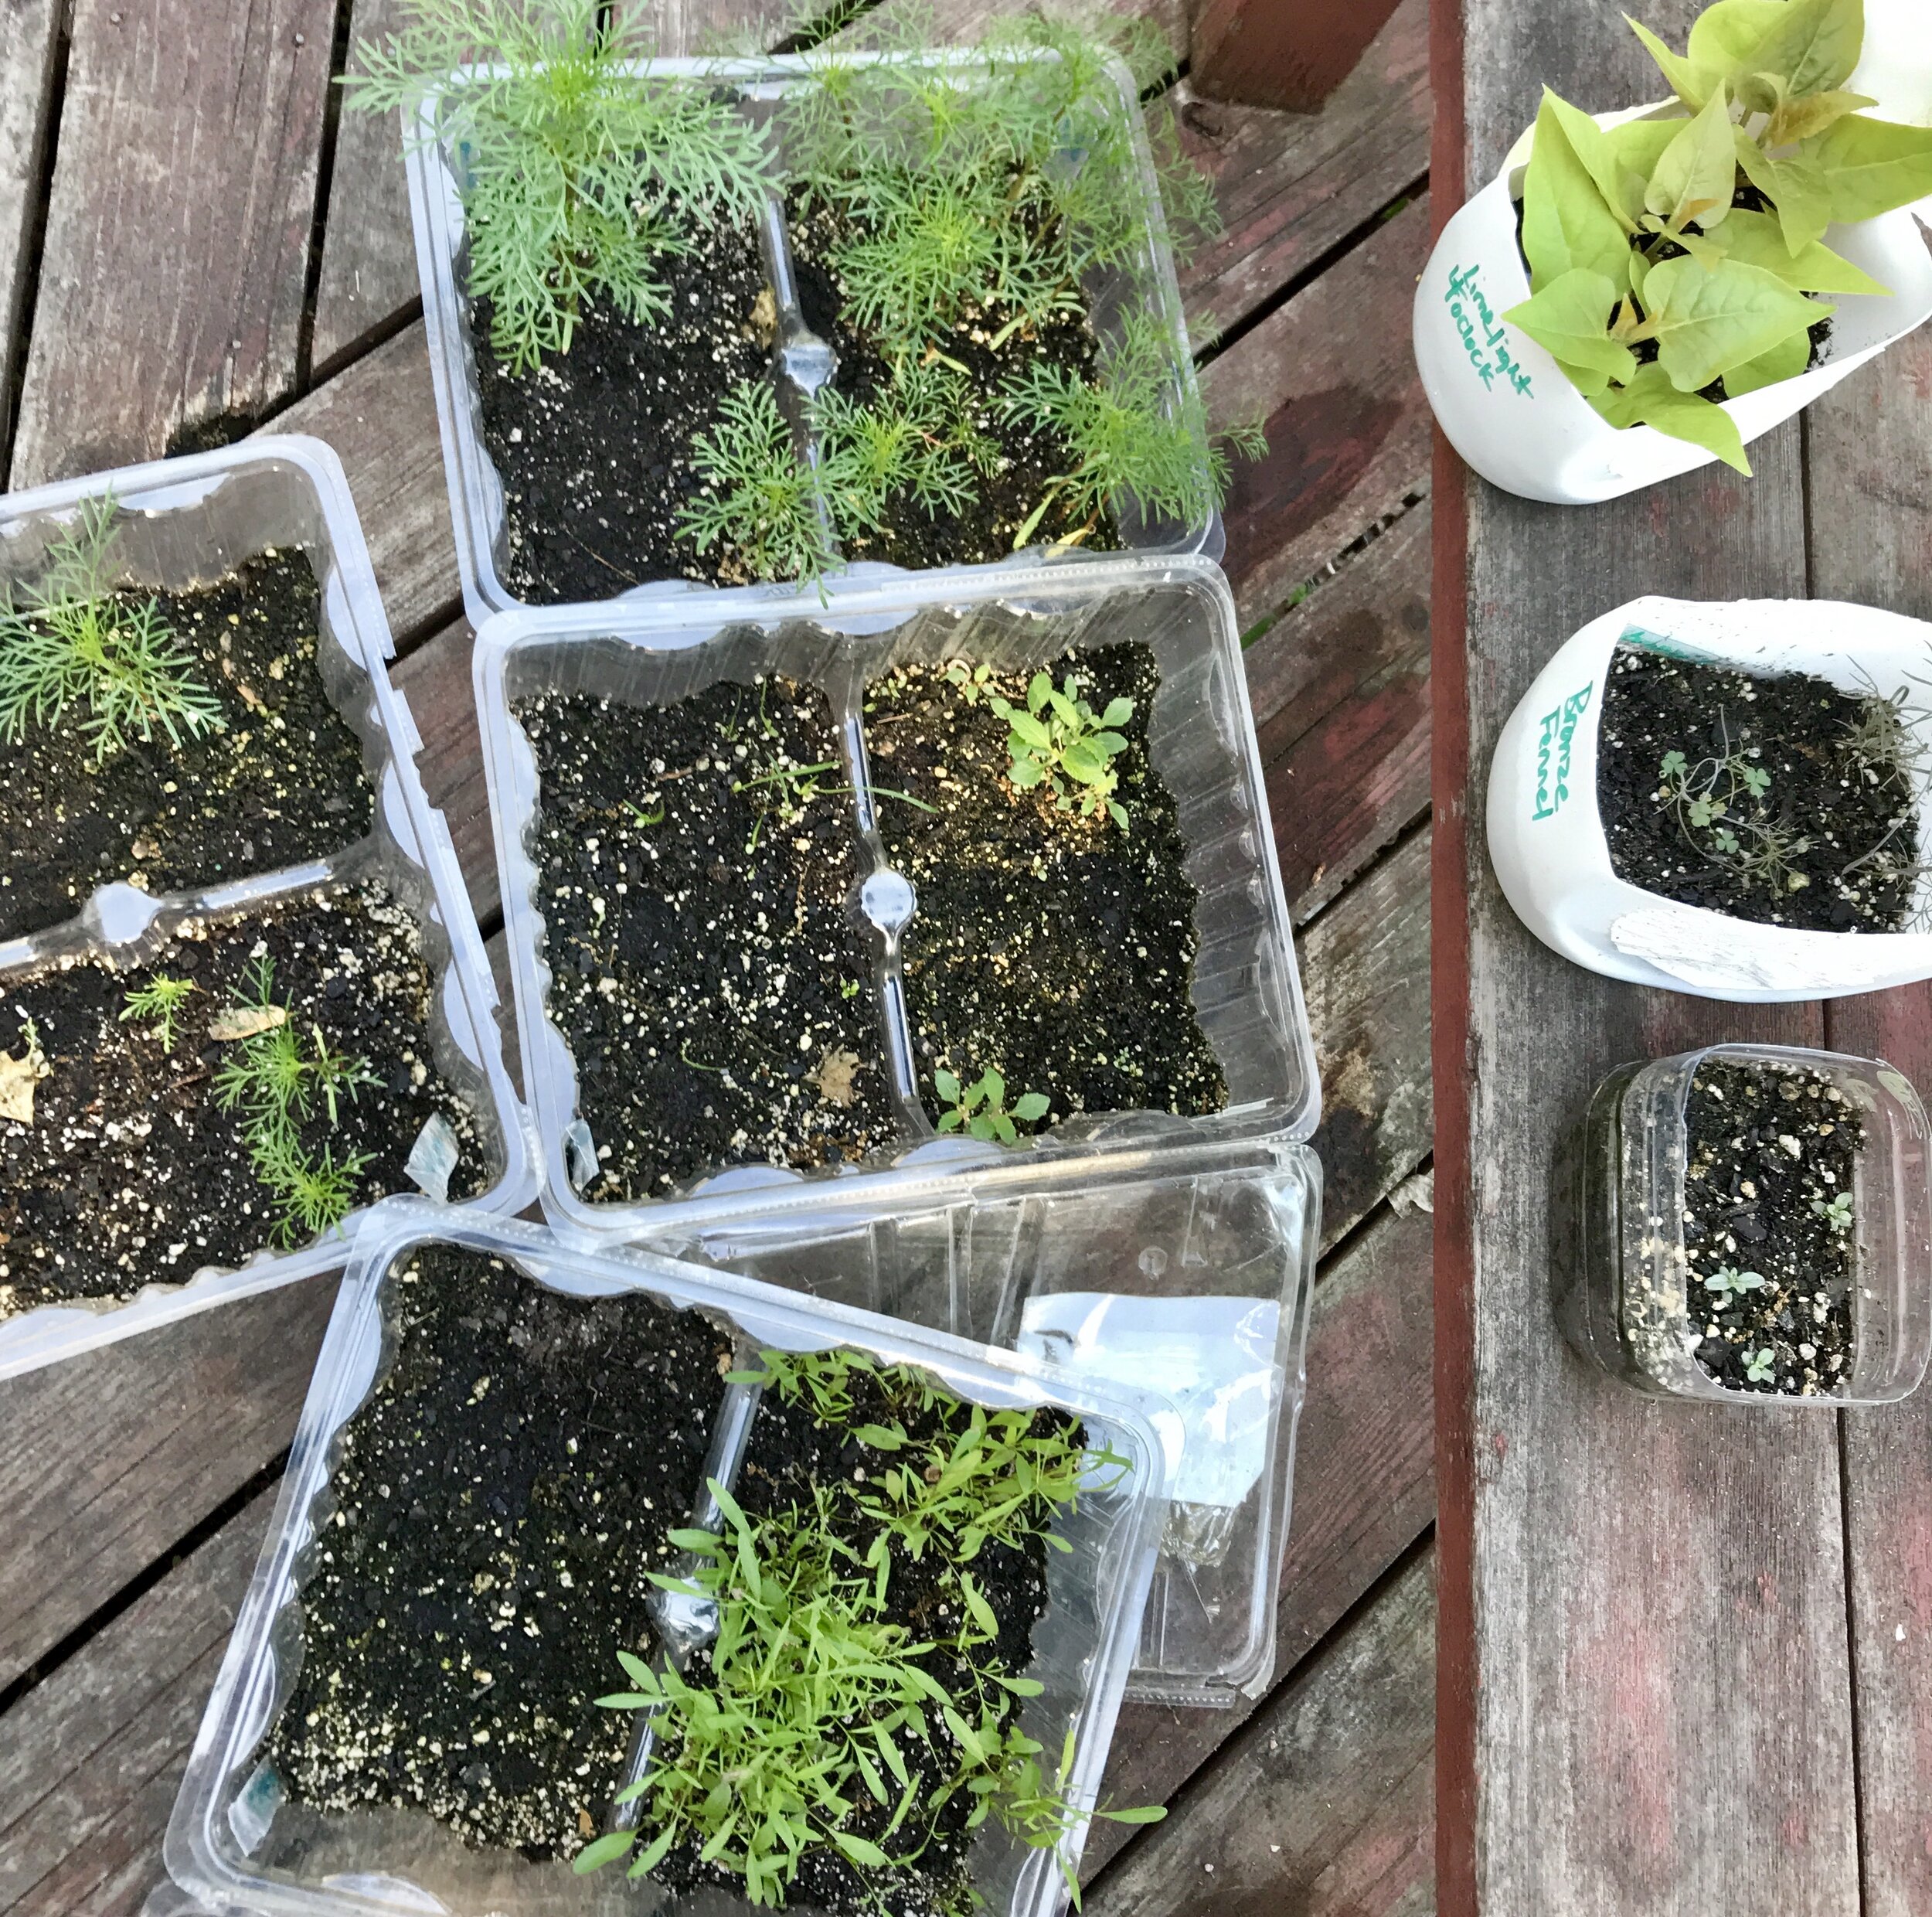
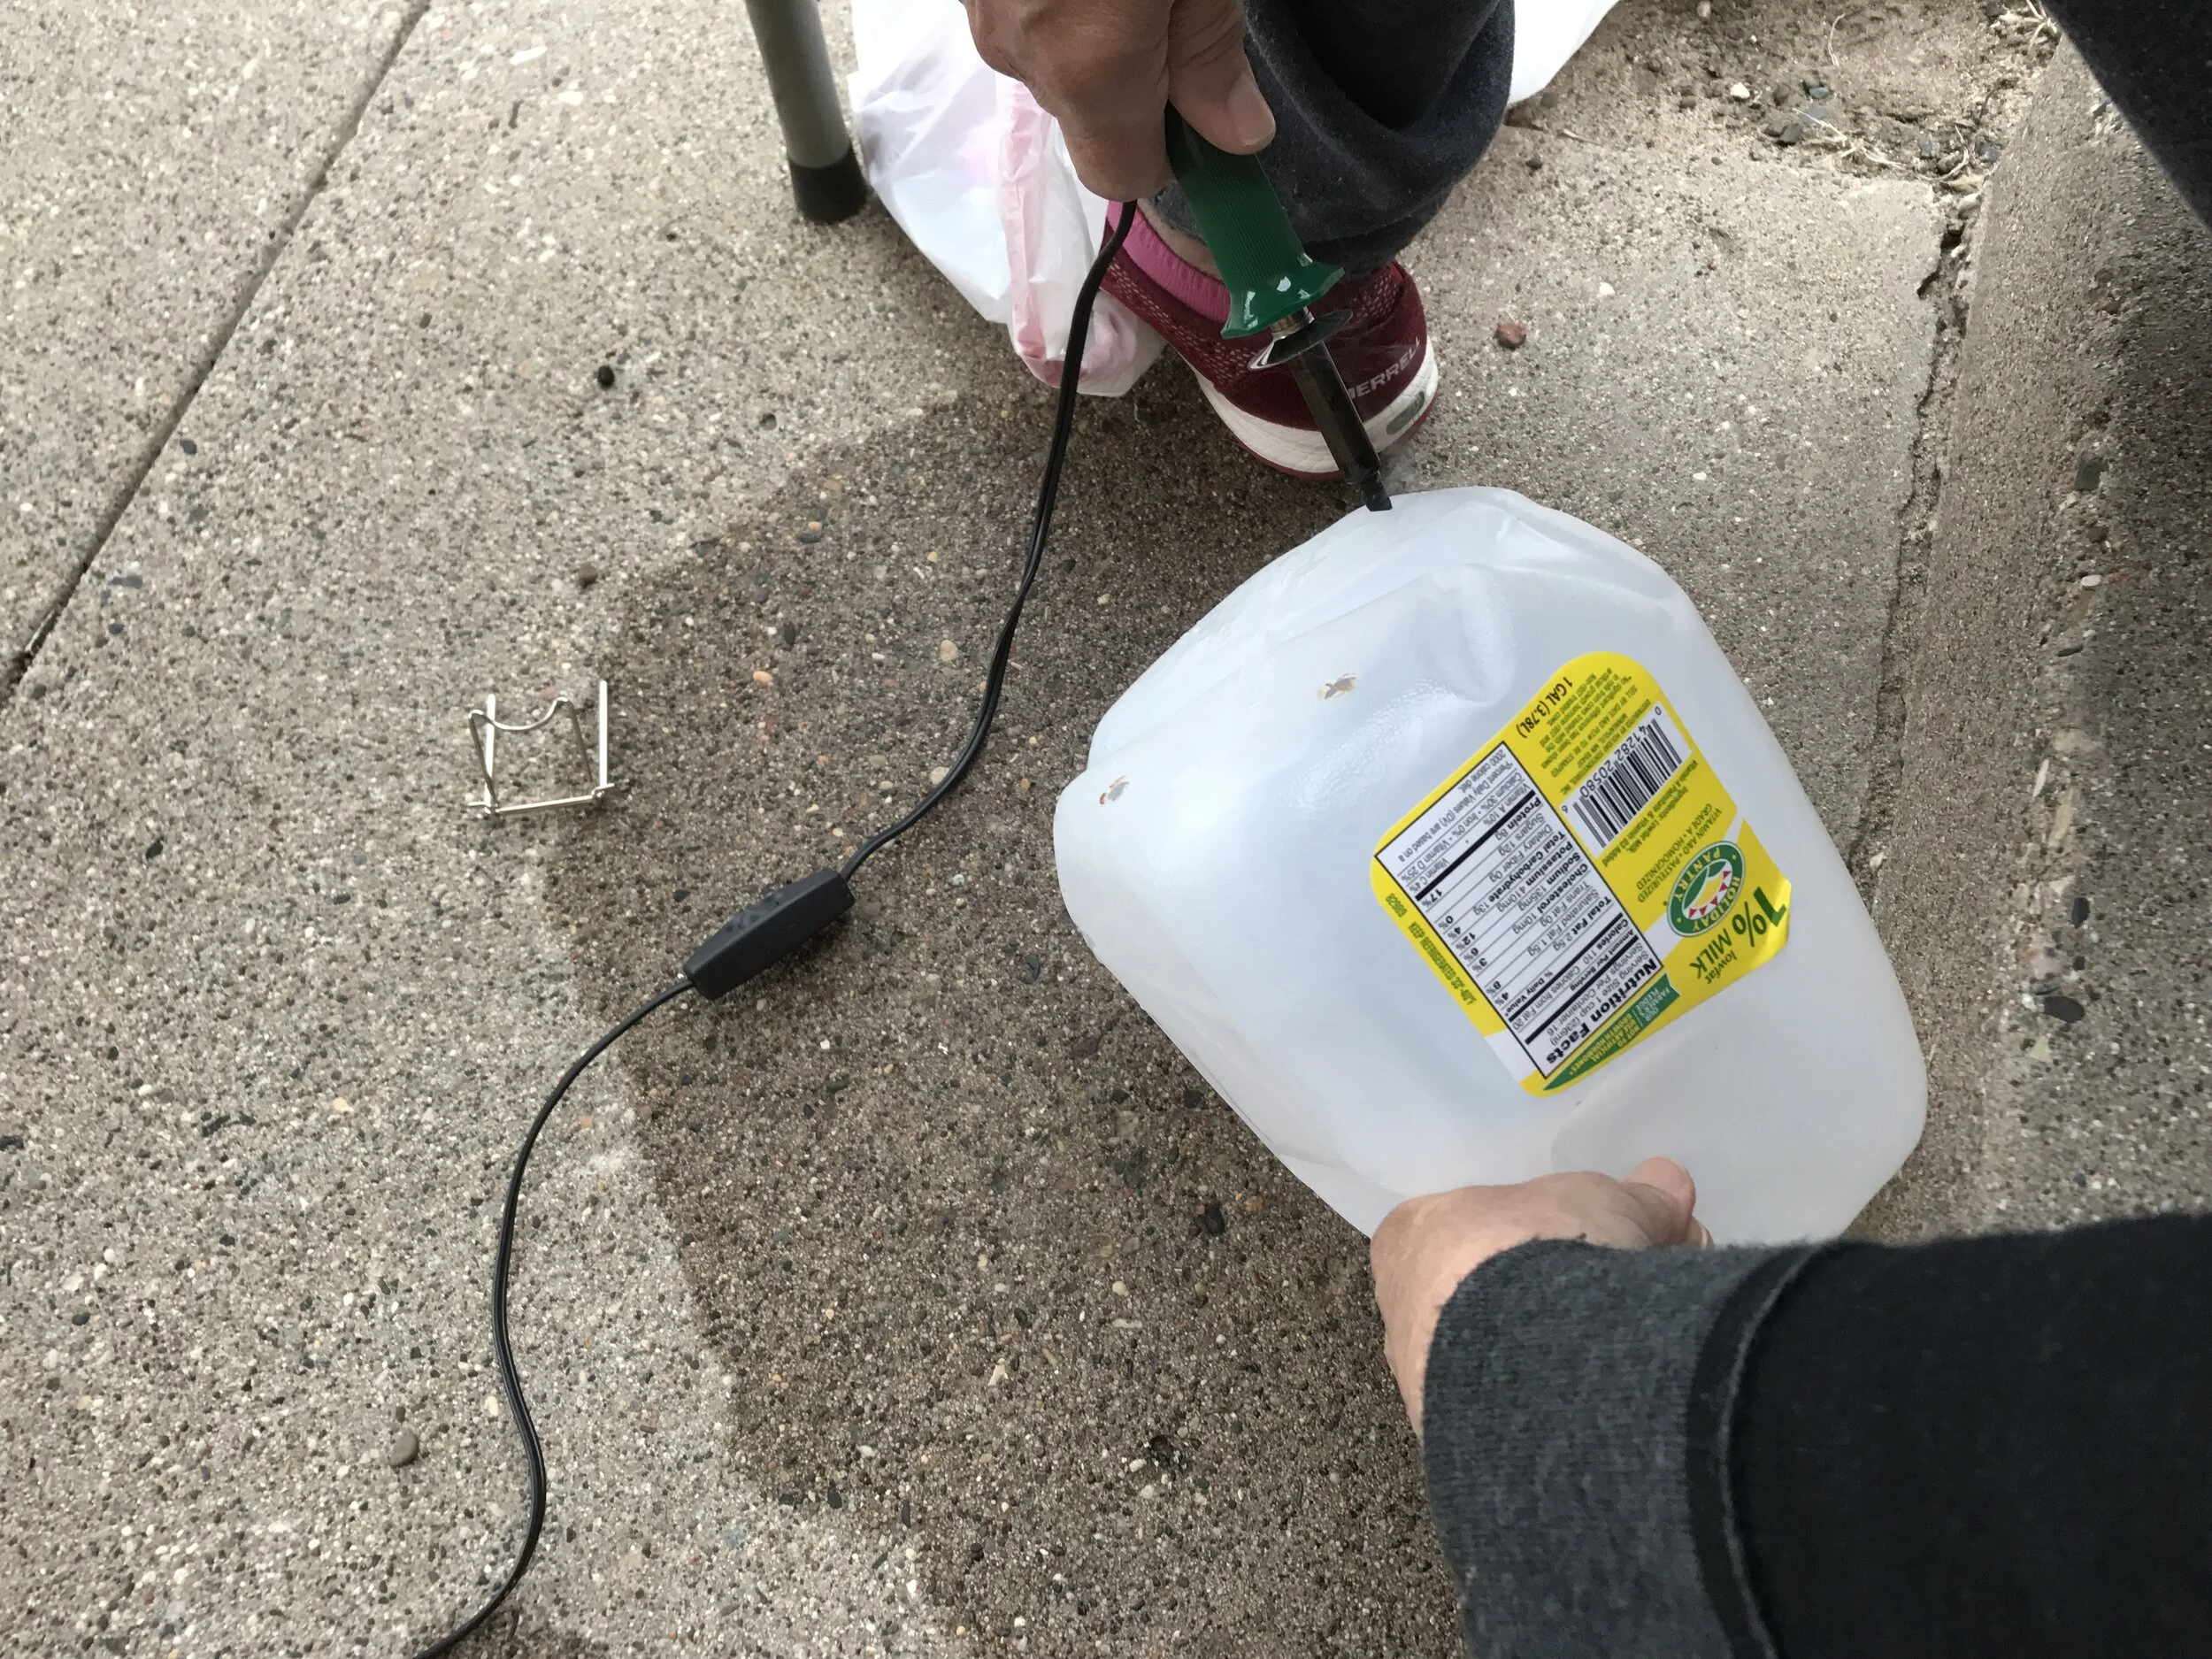
Containers: Milk jugs, 1 to 2-liter soda or juice bottles, chicken rotisserie or layer cake containers, salad boxes at least 4” tall, Any other tall clear or white plastic container that is empty and clean.
Potting Soil: Most any regular potting soil is suitable for wintersowing. Ironically, “Seed starting mix” is less desirable in this situation because it has less nutrients. Where to get potting soil? If you want to stay away from big box stores, consider visiting Eggplant Urban Farm Supply, who is offering phone orders and car delivery. Another great place for soil that is near the 55103/55104 areas is Ecogarden Supply.
Seeds! These can be picked up at the #OutPlantTheOutbreak cabinets. As the season progresses, In mid-March, you can wintersow more than perennial plants. It is a great time to get cold crop veggies and some herbs going too. I will get this seed out soon!
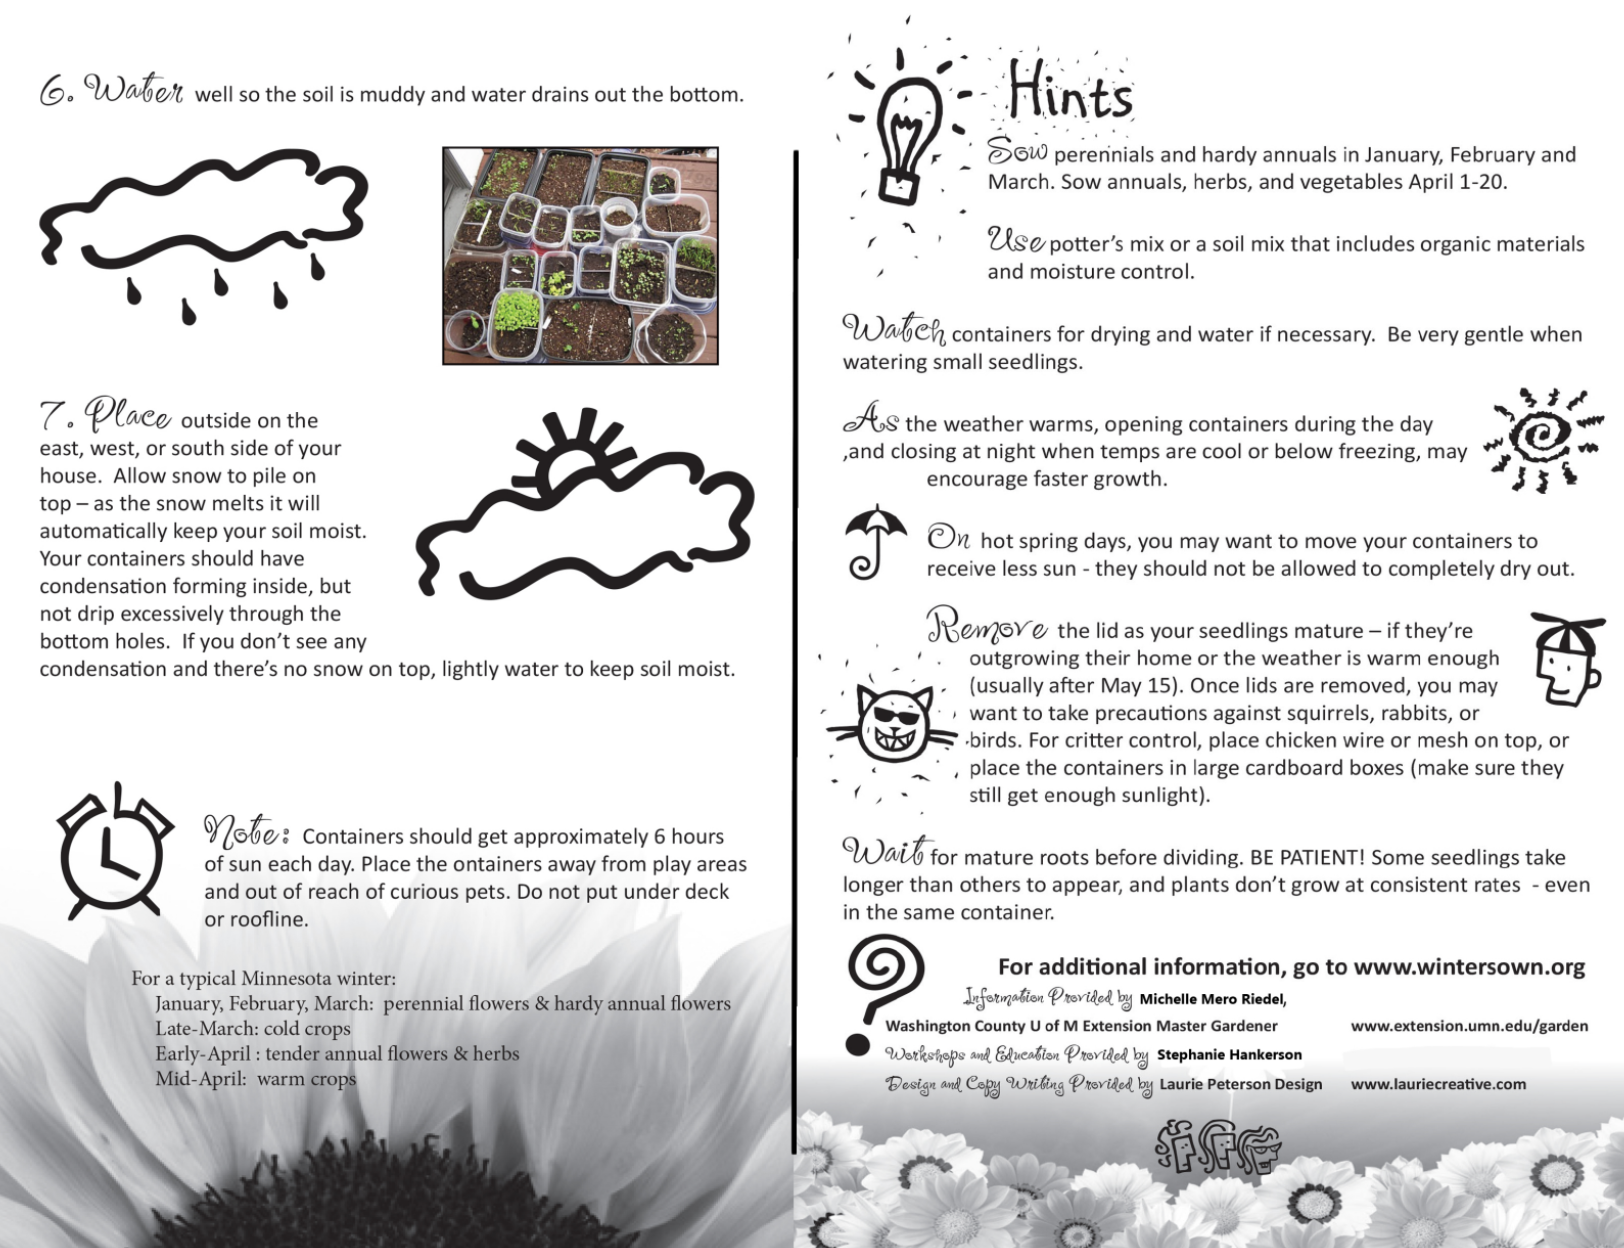
Complete Winter Sowing instructions on a pdf is here.
Explore more at #OutPlantTheOutbreak